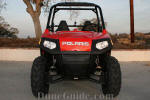
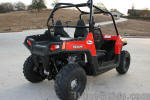
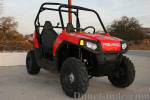

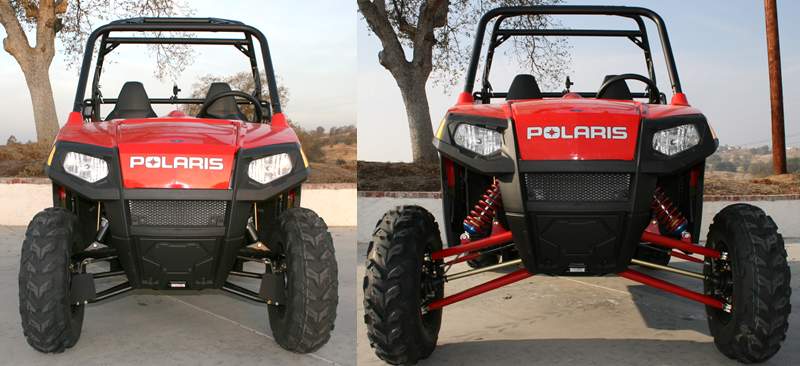
Stock Polaris RZR – Before Long Travel
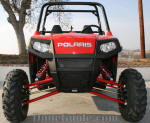


Polaris RZR after Fireball Racing +6″ Long Travel
Information
After taking a Polaris RZR for a spin during the UTV Rally in Moab, I was could see what the hype was about. Then a friend bought a turnkey long travel RZR at the Sand Sports Super Show and I got to see it in action at Sand Mountain the following weekend. I was sold and soon was headed to Glamis to ride my new bone stock Polaris RZR.
I’ve got to say that I was very impressed with the capabilities of the RZR in stock form. But after duning the RZR all over Glamis for the weekend, I had a good idea of what needed to be done to turn it into a vehicle more suited to my use. First up was long travel which well cover here, but look in future issues where well cover roll cage, bumpers, lights, seats & harnesses and some performance parts.
Long Travel:
The suspension on the RZR has 9 of front wheel travel and 9.5 of rear wheel travel and does a pretty fair job for a stock UTV. The RZR is 50 wide as it comes from the factory, so it feels a bit tippy on side hills or when power sliding the rear end.
There are a few ways to approach improving the suspension and handling capabilities of your RZR:
- Aftermarket shocks: New shocks are a great way to improve ride quality. If you keep the stock arms, an aftermarket shock will not increase the amount of wheel travel, but will help smooth out your ride.
- Wheel spacers or offset wheels: Moving your wheels outward with spacers or new wheels is an easy way to increase track width for added stability, but they also put more stress on hubs and spindles. They also increase the amount of force applied to your shocks and springs, so adjustments will need to be made.
- Long Travel: A long travel kit uses longer arms and longer shocks to increase the track width and the amount of wheel travel. The ride quality and capability is improved with aftermarket shocks rough terrain is smoothed out, and getting air in your UTV isnt quite as scary. The biggest downside to a long travel kit is cost.
Increasing track width is nice for stability, but remember that a +6 long travel kit will actually increase the track width by 12 your RZR is now 62 instead of 50. If you ride on ATV trails, your RZR will now be too wide to fit.
The areas that I ride in are open to full-sized vehicles, so I was not too concerned about increasing my track width, so I decided a long travel kit was the best solution for the type of riding I do.
After researching long travel kits for a while, I settled on a +6 kit from Fireball Racing. Fireball Racing has been building suspension and performance parts for ATVs since the 1980s and they expanded into the UTV market a few years back with a mid and a long travel kit for the Yamaha Rhino.
Long Travel Kit Components:
- +6 inch chromoly a-arms
- +1 inch forward and +2 inch rearward 80 wheelbase
- 14 inches of wheel travel
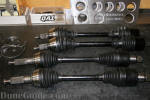
- 300m axles
- Hardened steel heim joints
- Extended tie rods
- Rear upper shock mount gusset
- Rear a-arm mount gusset
- Braided brake lines
- Bilstein aluminum shocks with Eibach springs
Ride Review
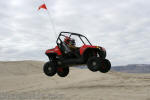
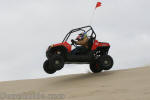
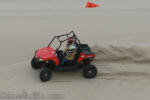
After the installation, we headed to Sand Mountain to test everything out. Wow! The RZR was fun in stock form, but this was big fun. I was able to drive faster and with much more confidence and comfort. The extra travel felt great after catching a bit of air. The shocks helped to smooth out the torn up dunes. And the steering geometry was very nice.
Other Photos:
Installation:
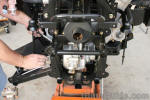
Installing a long travel kit typically does not require any special tools, but being mechanically inclined does help. The Fireball Racing kit installed easily with the exception separating the stock rear axles from the inner CVs. All the other CVs popped right off, but the rear, inner CVs needed more persuasion. But after that, the kit went in place very nicely. The fit and finish of the arms was very impressive and the arms all slid into place with ease. The one big difference between installing a long travel kit on a Rhino versus a RZR is the RZRs need all new extended brake lines. Figure on an extra hour or so to install and then bleed the brake lines, plus a little more cost.
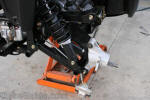
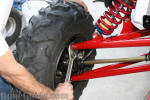
Lift the RZR and take the wheels off
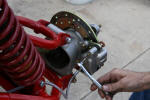
Remove cotter pin, large hub nut, tie rod end (front) and brake caliper from all four corners
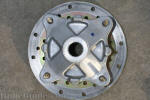
Remove hubs
Remove spindles from arms
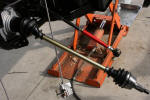
Remove Axles – They come out of the differentials with a little tug
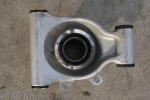
Remove Arms
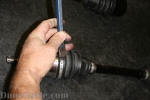
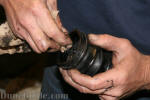
Remove bands off all CV boots
Remove old axles from CVs – You can save and resuse old CV grease if RZR is fairly new
The CVs on the inner rear (differential side) may not come off as easily as the others. If so, the only way to remove the CV is to get the balls out first, then pop the star with a brass hammer.
Install new axles, clean and install boots
Band CV boots
Steering stop added to limit turning – Stock front axles bind under full turn
Install new tie rod extenders
Install new extended brake lines
Install new axles/CVs
Install new long travel arms
Install spindles
Install hubs
Install brake calipers
Attach tie rods
Install shocks
Install rear upper shock mount support
Install rear lower arm mount support bracket
Bleed brakes
Lube arm bushings
Set alignment
Contact Info:
Fireball Racing
Website: www.fireballracing.net
Location: Prather, CA
Phone: (559) 324-9533





















No Comments